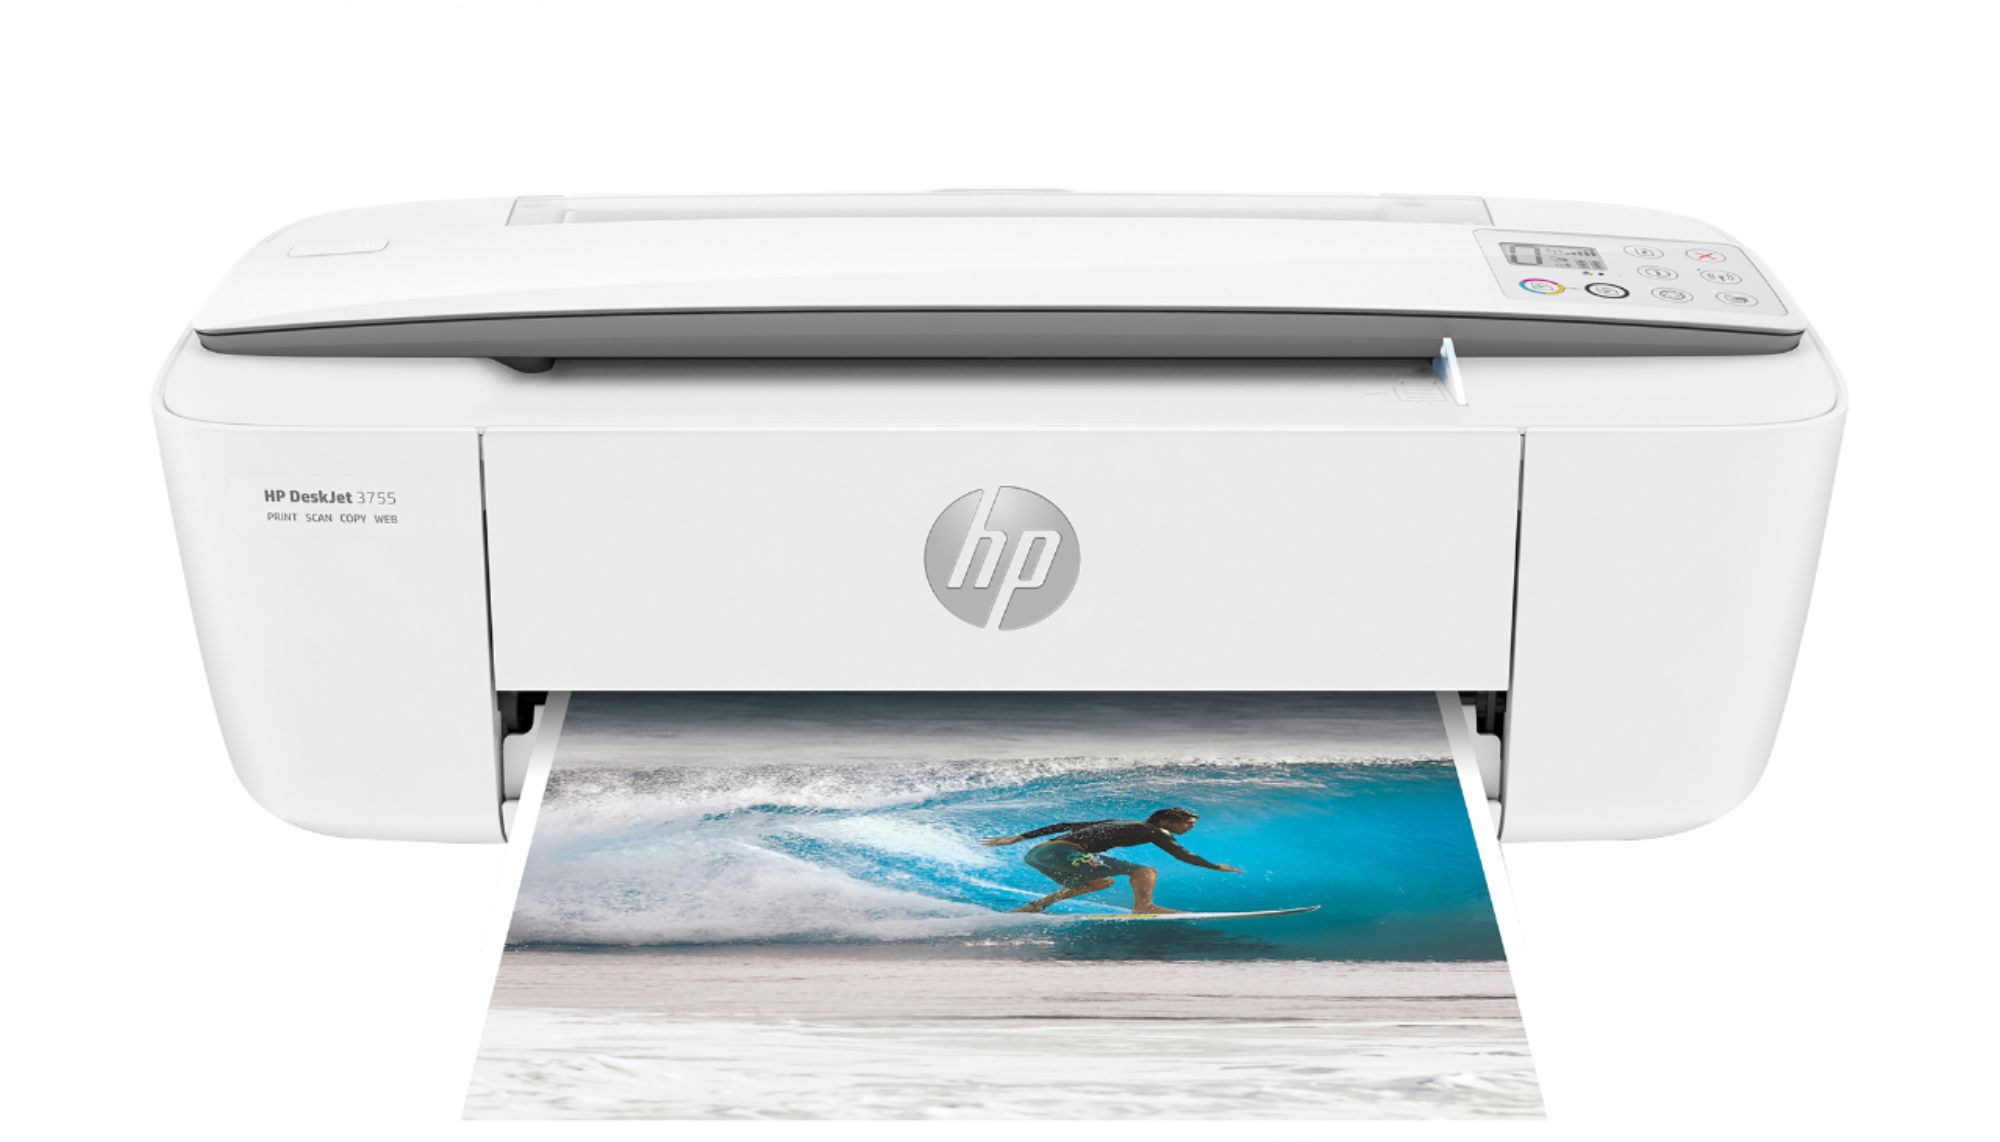
Dealing with a printer that won’t print black ink can be incredibly frustrating. Whether it’s for an important work document or a cherished family photo, a malfunctioning printer can disrupt your workflow. The good news is that most HP printer black ink issues can be fixed with some troubleshooting. From checking ink levels to cleaning printheads, there are steps you can take to get your printer back in working order without needing professional help.
This common issue can disrupt work and personal projects, and it can be caused by various issues such as empty ink cartridges or clogged print heads. Understanding why it happens is the first step to fixing it. This article aims to provide clear, easy-to-follow solutions to help readers troubleshoot their HP printer issues. Whether it’s a simple fix or requires a bit more effort, you’ll find the help you need here.
Troubleshooting Your HP Printer: No More Blank Pages
Check Ink Levels
It might sound obvious, but start by confirming you actually have black ink. Many HP printers have a built-in display or software that shows ink levels. If it’s low or empty, replace the cartridge.
Clean the Printheads
Clogged printheads are a common culprit. Your HP printer software should have a “Clean Printheads” option. Run this a couple of times, then print a test page to see if it’s fixed.
Check for Clogged Vents
Tiny vents on the ink cartridges let air in, which is crucial for proper ink flow. If these vents are blocked, it can cause printing problems. Carefully inspect the vents and gently clean them with a pin if necessary.
Align the Printheads
Misaligned printheads can also cause issues. Use the “Align Printheads” option in your printer software.
Reset the Printer
Sometimes a simple reset can do the trick. Turn off the printer, unplug it for a minute, then plug it back in and turn it on.
Check for Firmware Updates
Outdated firmware can sometimes lead to printing problems. Check HP’s website for any available updates for your printer model.
Try a Different Cartridge
If you have a spare black ink cartridge, try swapping it in. This can help determine if the issue is with the cartridge itself.
Troubleshooting Steps: A Quick Guide
| Problem | Possible Solution |
|---|---|
| Low or empty ink cartridge | Replace the cartridge |
| Clogged printheads | Clean the printheads using the printer software |
| Clogged cartridge vents | Carefully clean the vents with a pin |
| Misaligned printheads | Align the printheads using the printer software |
| General printer glitch | Reset the printer |
| Outdated firmware | Update the printer’s firmware |
| Faulty cartridge | Try a different cartridge |
If none of these steps work, it’s time to call in the pros. Contact HP support or take your printer to a qualified repair shop.
Key Takeaways
- When an HP printer stops printing black, checking the ink cartridges for proper installation, compatibility, ink levels, clear vents, age, and usage of genuine HP products is crucial for troubleshooting.
- Cleaning the print heads can resolve issues with black ink not printing. This can be done through the printer’s built-in cleaning function or manually if necessary, enhancing print quality and ensuring smooth ink flow.
- Running a printer diagnostic test using HP’s Toolbox software or directly from the printer can help identify specific problems, such as clogged nozzles or ink issues, guiding users towards appropriate fixes.
- Adjusting printer settings, including ensuring it’s set to print in black ink or grayscale, checking print quality settings, and matching the paper type with the loaded paper, can remedy issues with not printing black ink and improve overall print output.
Check Ink Cartridges
When an HP printer doesn’t print black, a common culprit is often the ink cartridges. It’s crucial to first check if they’re properly installed. Misplaced cartridges won’t allow the printer to function correctly. Also, verify that the cartridges are compatible with your model. Using the wrong type can lead to printing issues.
Next, inspect the ink levels. Low or empty cartridges are a primary reason for printing failures. Many printers provide a digital readout of ink levels, but you can also check this manually in most models. If the black ink cartridge is nearly empty, replacing it should be your next step.
Cartridges have vents that need to be clear for ink to flow smoothly. If these vents are clogged, black ink won’t reach the paper. You can usually find these vents on top of the cartridges. Gently cleaning them with a soft, lint-free cloth may resolve the issue.
Another aspect to consider is the age of the ink cartridge. Over time, ink can dry out, especially if the printer hasn’t been used for a while. This can block the flow of ink. If the cartridge is old or has been in the printer for a long time without use, consider replacing it with a new one.
Lastly, it’s important to use genuine HP cartridges. Third-party alternatives may be cheaper, but they can cause compatibility issues, including not printing in black. Stick with the recommended cartridges for your HP printer to ensure optimal performance.
By taking these steps to check and maintain the ink cartridges, many common printing problems, including the absence of black ink on printed documents, can be quickly resolved.
Clean Print Heads
When your HP printer stops printing black ink, one helpful step is to clean the print heads. Over time, these parts can get dirty or clogged, leading to poor print quality. This process can be simple and often fixes the problem fast.
Printers have a built-in cleaning function. To use it, go to the printer’s settings or control panel. Look for an option labeled “Maintenance,” “Toolbox,” or something similar. Here, you’ll find “Clean Print Heads” or a related option. Click on it and follow the instructions. The printer will do the work, cleaning the print heads to clear away any blockage.
Sometimes, however, the built-in cleaning doesn’t solve the issue. If that happens, manual cleaning is the next step. This task requires care. First, turn off the printer and unplug it. Take out the ink cartridges gently. You’ll see the print heads. Use a soft, lint-free cloth slightly moistened with water or isopropyl alcohol. Wipe the print heads softly to remove any ink residue or debris. Avoid touching the electronic parts. After cleaning, let the print heads dry completely before putting the cartridges back and turning on the printer.
It’s crucial to check if this solves the issue. Do a test print to see if black ink appears properly. If not, repeat the cleaning process, or look into further solutions, such as updating the printer’s software, checking for hardware issues, or consulting with HP support for specialized advice.
By taking these steps, you’re actively working toward resolving common printing problems, ensuring your printer runs smoothly for your needs.
Run Printer Diagnostic
Running a printer diagnostic test is a smart move when your HP printer stops printing black. This test helps find out what’s wrong. It’s like a doctor’s check-up for your printer. HP printers come with a tool for this. It’s easy to use and can save you a lot of trouble.
First, look for the HP Toolbox on your computer. This is where you’ll find the diagnostic tool. If you can’t find it, go to HP’s website. They have all the tools you need. Once you’ve got the HP Toolbox open, look for something like “printer maintenance,” “printer status,” or “tools.” The names might vary, but they all do similar things.
Here, you’ll find the diagnostic tests. They check different parts of your printer to see what’s not working right. It’s important to follow the instructions carefully. They’re made to be easy so you don’t need to be a tech expert to do them.
After running the test, the tool might tell you exactly what’s wrong. It could be a clogged nozzle or a problem with the ink. Sometimes, it might tell you to clean the print heads or check your ink levels. These tests are great because they help pinpoint the problem. This means you’re not guessing what to do next.
Some printers have a screen where you can do these tests directly from the printer. This is even easier. Just use the menu on the printer’s screen to find and run the diagnostic tests.
Remember, running these tests is only one part of solving the problem. They help you understand what’s wrong, but fixing it might need a few more steps. Still, it’s a good place to start. It’s like finding clues that lead you to solving the mystery of why your printer isn’t printing black ink.
Adjust Printer Settings
If an HP printer is not printing black ink, adjusting the printer settings can often resolve the issue. It’s important to ensure that the printer is set to print in black ink or grayscale, especially for documents that don’t require color. Sometimes, the printer may be set to color mode by default, which can cause problems if the color ink levels are low. Checking the print quality settings is also essential. HP printers offer different quality modes such as ‘Draft’, ‘Standard’, and ‘High Quality’. If the printer is set to ‘High Quality’, it uses more ink, which can be problematic if the black ink cartridge is running low. Switching to ‘Draft’ or ‘Standard’ mode can help conserve ink.
Additionally, it’s crucial to verify that the paper settings match the type of paper loaded in the printer. Mismatched paper settings can affect ink distribution and the final print quality. After making these adjustments, users should save the settings as a new printing profile for future use. This makes it easier to switch between different printing preferences without needing to adjust settings each time. By fine-tuning these printer settings, users can often resolve the problem of an HP printer not printing black ink, saving time and avoiding unnecessary complexity.
Frequently Asked Questions
What should I do if my HP printer stops printing black ink?
Check your printer settings to ensure they match your actual printing needs. Adjustments in ink color settings, print quality modes, and paper type could resolve the issue. It’s crucial to set your printer to print in black ink or grayscale if it isn’t doing so already.
How can changing the print quality settings help?
Adjusting the print quality settings can significantly impact the printer’s ability to produce clear black ink prints. Different quality modes are suited for various document types, and selecting a higher quality mode can sometimes resolve black ink not printing.
Why is selecting the correct paper type important?
Different paper types absorb ink differently. By selecting the correct paper type in the printer settings, you ensure that the printer adjusts its ink output accordingly, which can help solve issues with printing in black ink.
Can saving these settings help in the future?
Yes, saving these adjusted settings as a new printing profile can streamline your printing process for future tasks. This saves time and simplifies troubleshooting if the issue arises again, allowing for quick restoration of preferred settings.
Does fine-tuning printer settings really resolve the black ink issue?
In many cases, fine-tuning printer settings such as ink color, print quality, and paper type can solve the problem. Making these adjustments aligns the printer’s operation with your specific needs, often resolving black ink printing issues without more complex troubleshooting.


